Skip to content

oVertone x Franzia hair colors inspired by your favorite wine — shop now!

  • Shop
    Shop by Color

    Rose Gold

    Pink

    Magenta

    Red

    Orange

    Yellow

    Green

    Teal

    Blue

    Purple

    Silver

    Ginger

    Brown

    Black

    Colorless

    Hair Color
    • Bleach
    • Coloring Conditioners
      • For Brown Hair
      • Pastel
      • Vibrant
      • Extreme
      • Basics
    • Hair Color Sets
      • For Brown Hair
      • Pastel
      • Vibrant
      • Extreme
      • Basics
      • Custom Kits
    Color Maintenance
    • Daily Conditioner
      • For Brown Hair
      • Pastel
      • Vibrant
      • Extreme
      • Basics
    • Toning Conditioners
      • For Yellow/Brassy Undertones
      • For Orange/Brassy Undertones
      • For Green/Cool Undertones
      • For Red/Warm Undertones
    Hair Care
    • Shampoo & Hair Masks
    • Hair Tools & Accessories
    • AQUIS x oVertone
    • Styling Products
    Sample Sizes
    • Coloring Conditioner
    • Daily Conditioner
    • Toning Conditioner
    • Shampoos & Masks
    • Sampler Packs
    More
    • Gift Cards
    • New Arrivals
    • Sale
    • Collections
      • For Brown Hair
      • Basics
  • About
    • FAQ
    • Contact Us
    • Our Story
    • Retailers
    • Reviews
  • Blog
  • SALE
oVertone Color

Join the List

0

Call Us! 888.574.7192

  • Rose Gold

    Pink

    Magenta

    Red

    Orange

    Yellow

    Green

    Teal

    Blue

    Purple

    Silver

    Ginger

    Brown

    Black

    Colorless

  • Sale
  • Bleach
    • For Blonde Hair
    • For Brown Hair
    • For Gray Coverage
    • For Gray Enhancement
      • Sample Size
      • For Brown Hair
      • Pastel
      • Vibrant
      • Extreme
      • Basics
    • For Brown Hair
    • Basics
    • Pastel
    • Vibrant
    • Extreme
    • Custom Kits
      • For Brown Hair
      • Pastel
      • Vibrant
      • Extreme
      • Basics
      • For Yellow/Brassy Undertones
      • For Orange/Brassy Undertones
      • For Green/Cool Undertones
      • For Red/Warm Undertones
    • Shampoos & Masks
    • Tools & Accessories
    • AQUIS x oVertone
    • Styling Products
    • Frequently Asked Questions
    • How to Use
    • Ingredients
    • Reviews
    • Contact Us
      • Our Story
      • Retailers
      • Reviews
    • Blog
  • Log-in
    • For Blonde Hair
    • For Brown Hair
    • For Gray Coverage
    • For Gray Enhancement
    • For Brown Hair
    • Basics
    • Pastel
    • Vibrant
    • Extreme
    • Custom Kits
    • For Brown Hair
    • Pastel
    • Vibrant
    • Extreme
    • Basics
    • Sample Size
    • For Brown Hair
    • Pastel
    • Vibrant
    • Extreme
    • Basics
    • For Yellow/Brassy Undertones
    • For Orange/Brassy Undertones
    • For Green/Cool Undertones
    • For Red/Warm Undertones
  • Sale
  • Bleach
    • Shampoos & Masks
    • Tools & Accessories
    • AQUIS x oVertone
    • Styling Products
    • Frequently Asked Questions
    • How to Use
    • Ingredients
    • Reviews
    • Contact Us
      • Our Story
      • Retailers
      • Reviews
    • Blog
  • Log-in

Join the List

Cart

Your cart is empty

Start shopping

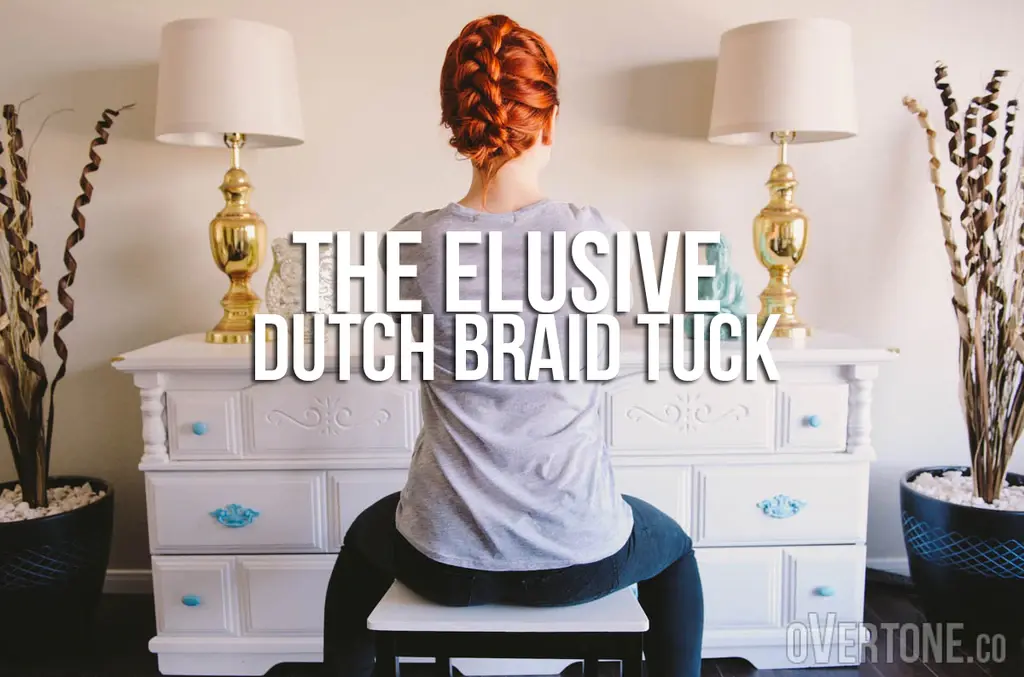
Dutch Braid Tuck Updo


This updo is perfect for lazy days, or any time you need something super quick to get you out the door. It as easy as french braiding your hair, and can also be done on any texture of hair whether you’ve blow dried, air dried, or whatever else.


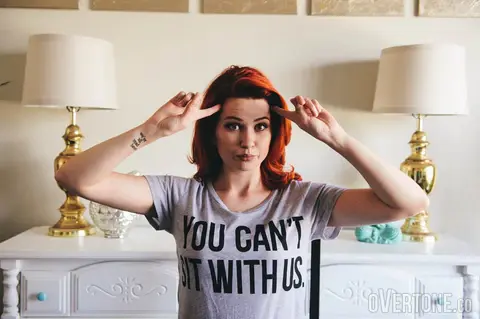
Start with whatever hair texture you’ve currently got going on. I happened to have a loosely curled, day old blow out.

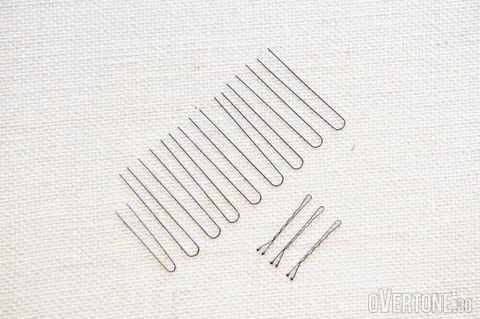
Here are the tools you’ll need:

  • Bobby pins
  • Straight pins

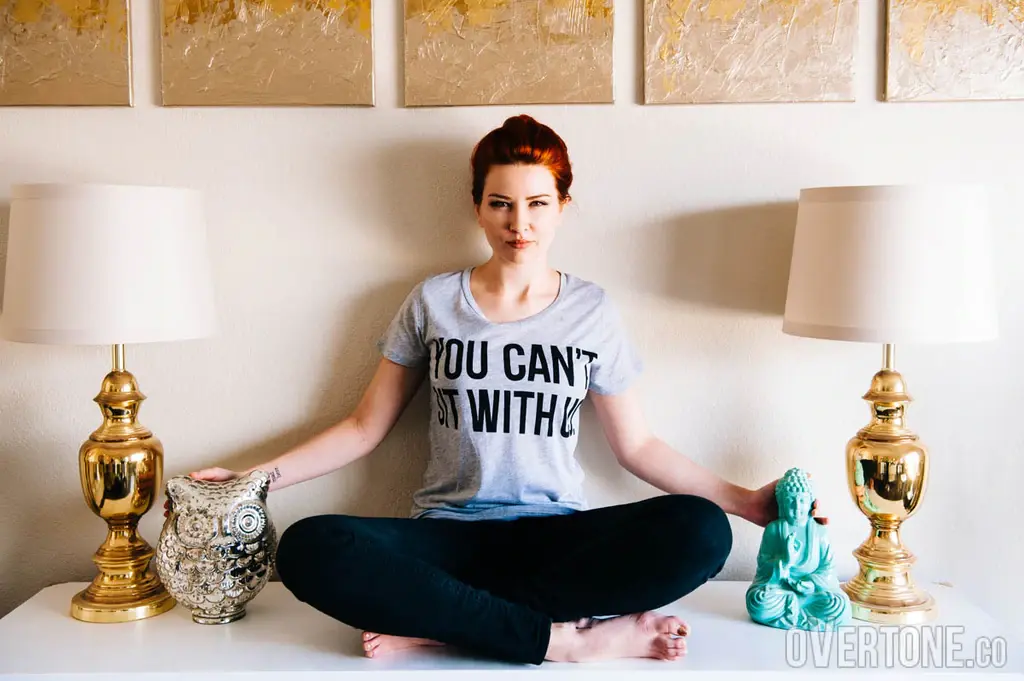
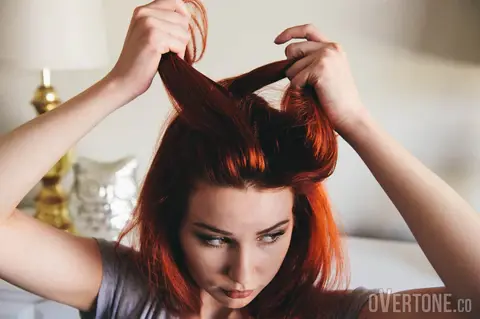
Step 1: Section Your Hair

Grab your hair from temple width back about half way to the crown of your head (Mean Girls tee shirt optional). 

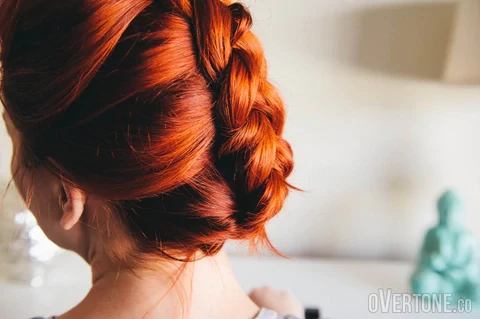
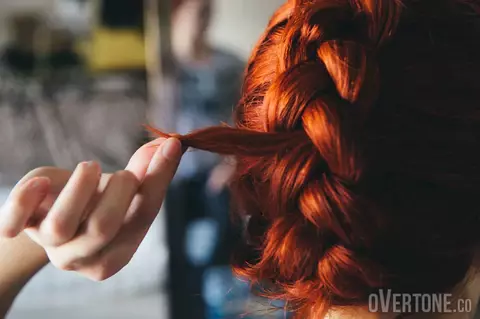
Step 2: Start Braiding

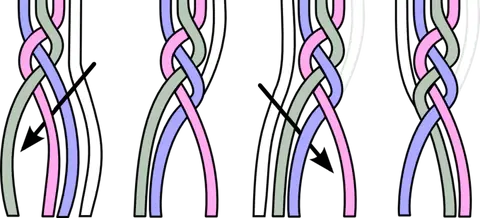
If you learned a regular french braid in grade school, a Dutch braid is exactly the same, but opposite. Instead of braiding over and down in to the braid, you’ll be braiding under and up. This pattern leaves the braid looking like it’s laying on top of your head, rather than tucked in to the knots.

If you’re a Dutch braid virgin, check out the pattern diagram below from our friends at Wikimedia.


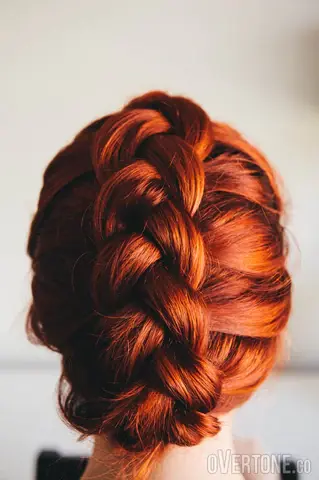
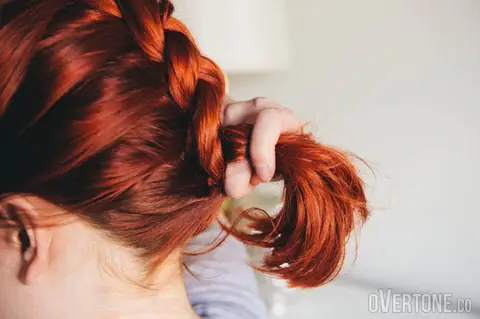
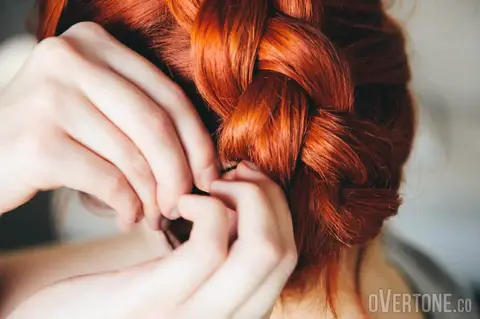
Step 3: Tie, Tuck, and Pin

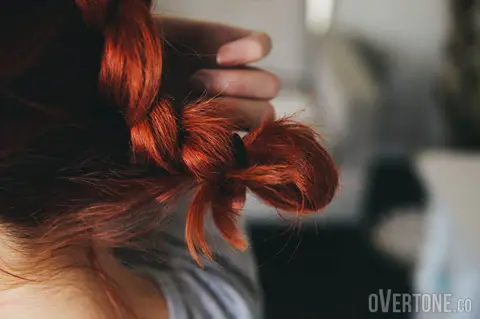
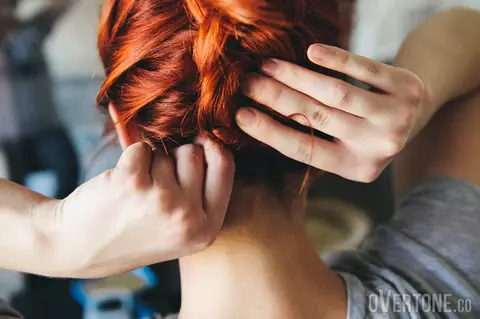
Once you’ve gotten to the end of your head, continue the braid for a few turns before tying a loop at the end with a hair tie. Make a part at the base of your scalp, tuck the end of the braid under itself, and criss cross two bobby pins to secure your hair in to place. Once the bobby pins are secure, take one or two hair pins to finish things off.

Optional Step 4: Got Layers?

If you’ve got layers, like I do, you might end up with a hair or two popping out of place. This is a lot more likely to happen with straight or straightened hair than wavy or curly hair. Grab the misplaced layer and a bobby pin, and pin that unruly little pain in the ass along the braid section it should have been a part of.

All done! Go check out your new awesome style in the mirror. If you want a little bit of a messier look, pull on the pieces of the braid a little to give it a more imperfect look. 

Got pictures? Tweet your version to @oVertoneColor. You know we love to see it. 😉

June 05, 2014

  • Free Returns
  • Fast Shipping
  • Vegan + Cruelty-Free
  • For All Hair Types

Shop by

  • Shop all
  • Custom Color Kits
  • For Brown Hair
  • Basics
  • Styling Products
  • Toning Conditioners
  • Sample Size
  • Tools & Merch
  • Gift Cards

About

  • oVertone Guide
  • Our Story
  • FAQ
  • Ingredients
  • Reviews
  • Retailers
  • Pro
  • Blog
  • Returns
  • Contact Us

Subscribe

Follow us

Accessibility

© 2023 oVertone Color LLC Terms of Service | Privacy Policy | My Privacy Choices | Accessibility