


How to Get Wedding-Ready Hair in 8 Easy Steps
It’s wedding season, and you know what that means. It’s time to hit the stores for that show-stopping outfit, accentuating accessories, and find the perfect hairstyle to make for jaw-dropping photo moments and memories that will last forever. But with so much on your plate, your hair should be the least of your worries. Whether you’re the bride-to-be, a bridesmaid, or just looking to be the best-dressed guest, we’ve got one easy-to-do, showstopping hair color and style guaranteed to make heads turn.
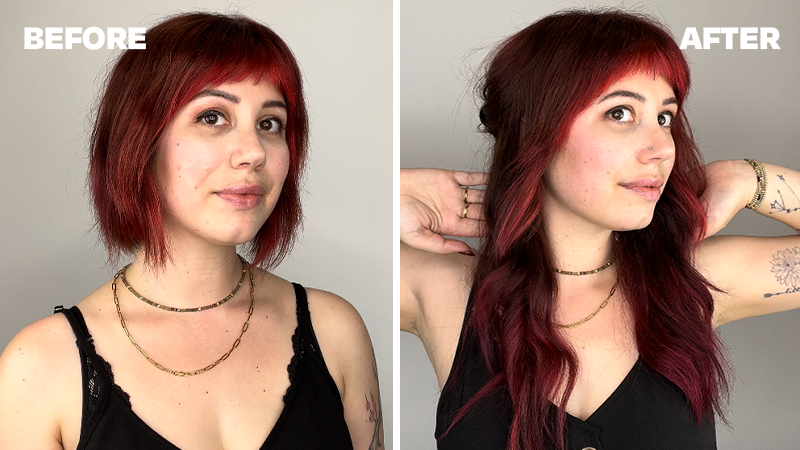
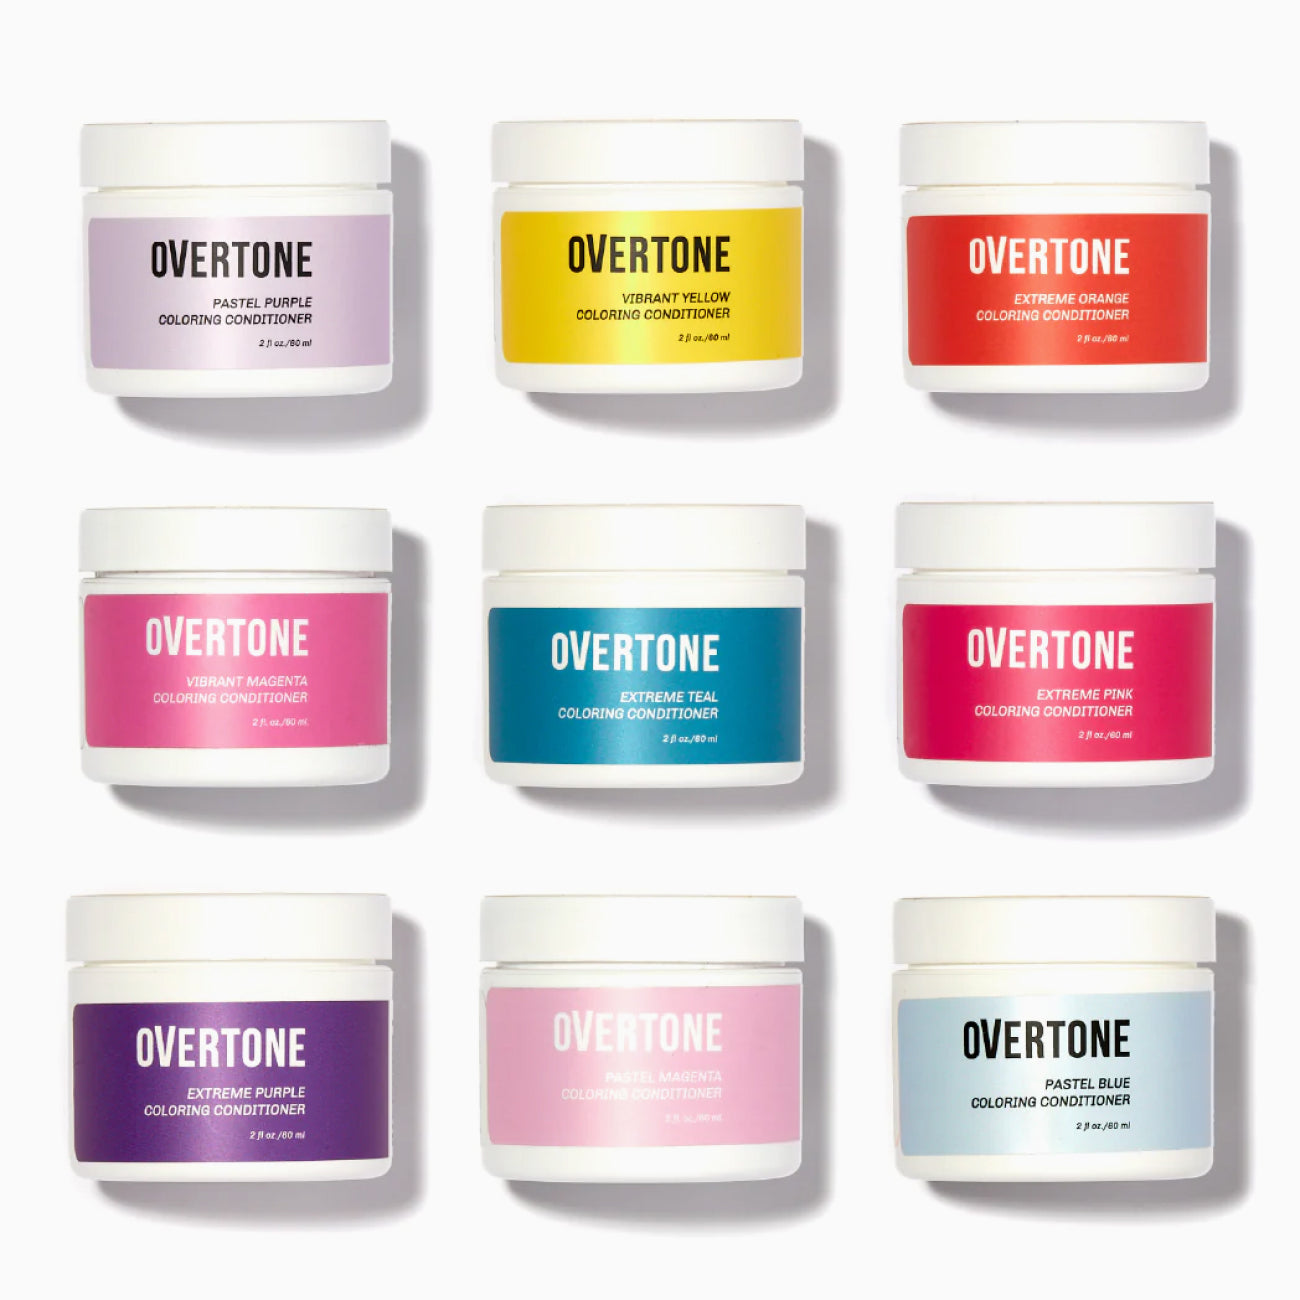
We caught up with @forloveandhair, who shared with us the best way to get wedding-ready hair that works for all types of celebrations. Watch her easy step-by-step tutorial as she adds hair extensions as a low-effort, non-permanent alternative for increasing volume and length to her wedding look. She uses three of our Coloring Conditioners to ensure that her extensions match her gorgeous color. Pair it with a beautiful hairstyle combo that is simple and modern with a subtle nod to formality, and you got a look that’s elegant and refined, just like you.
WHAT YOU’LL NEED:
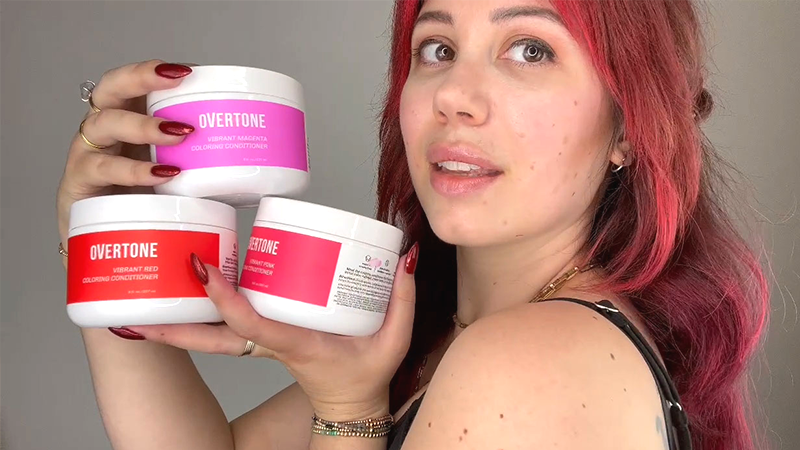
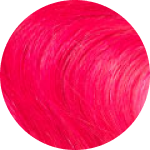
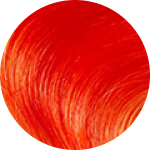
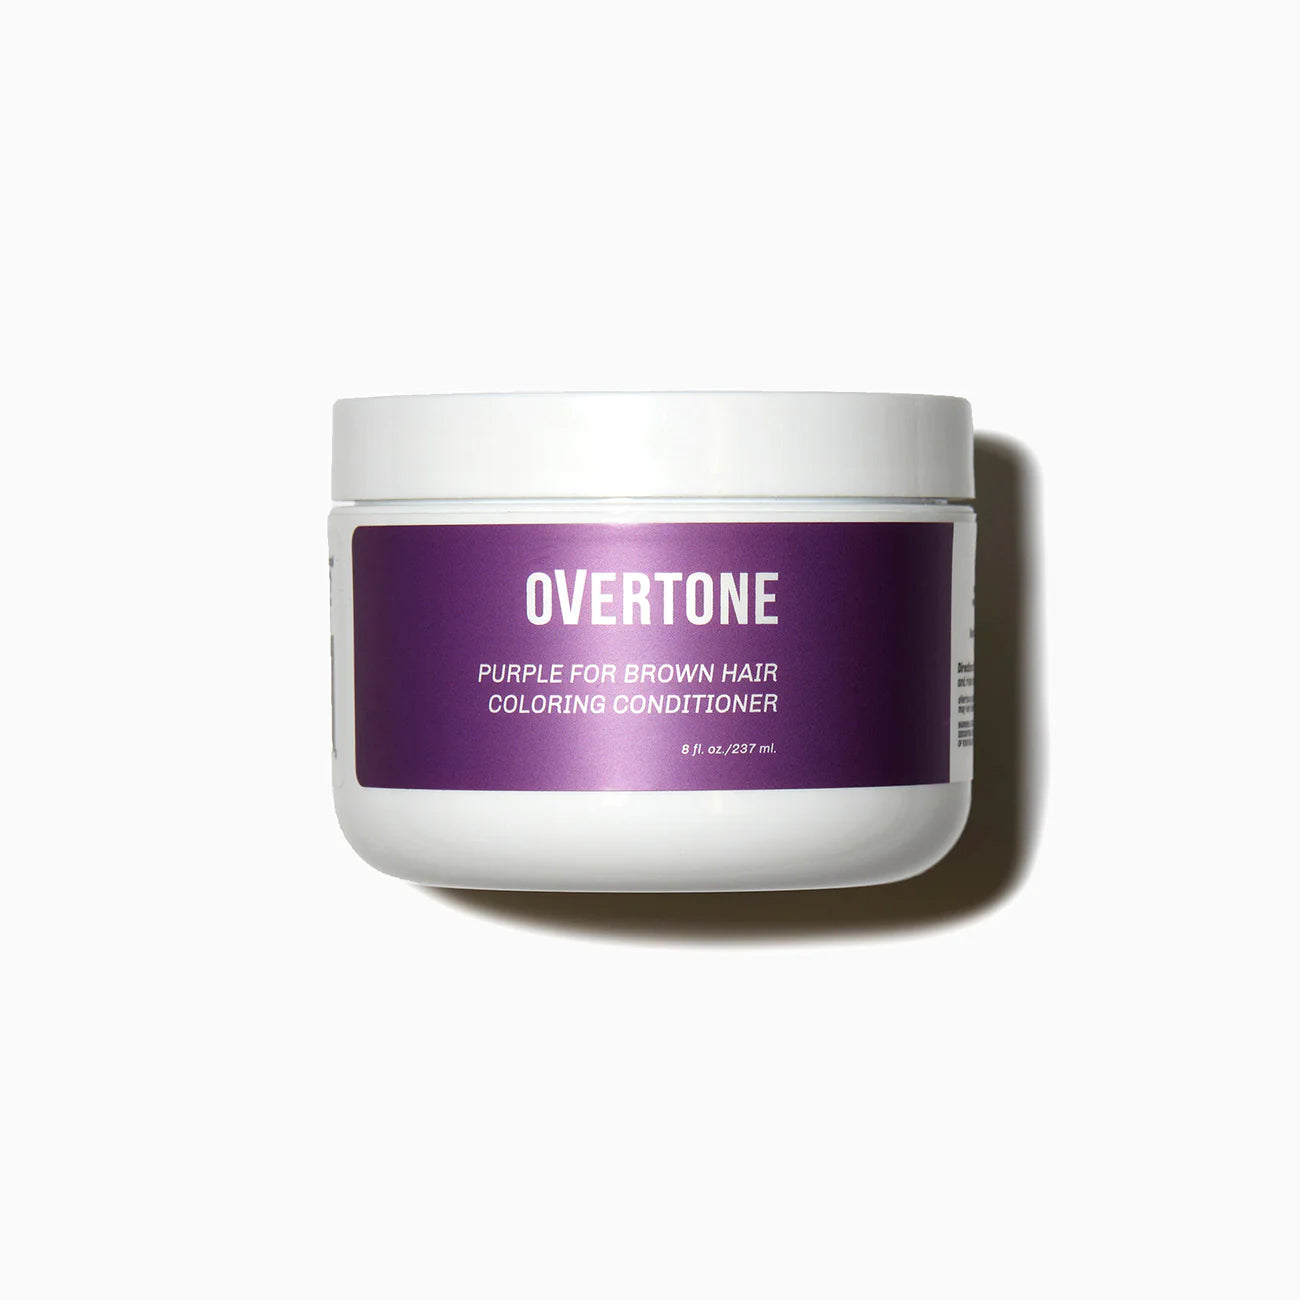
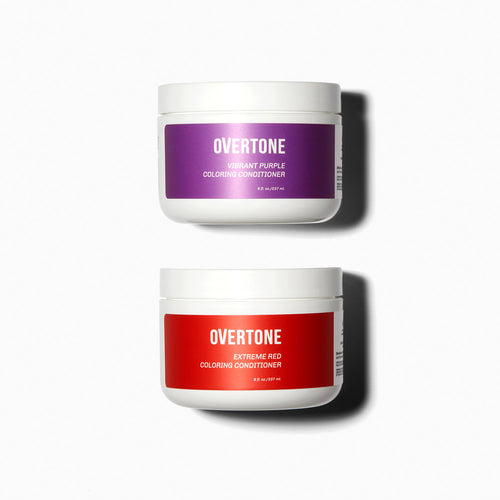
Vibrant Pink, Vibrant Magenta, and Vibrant Red Coloring Conditioners (not pictured: product mixed to create desired color)
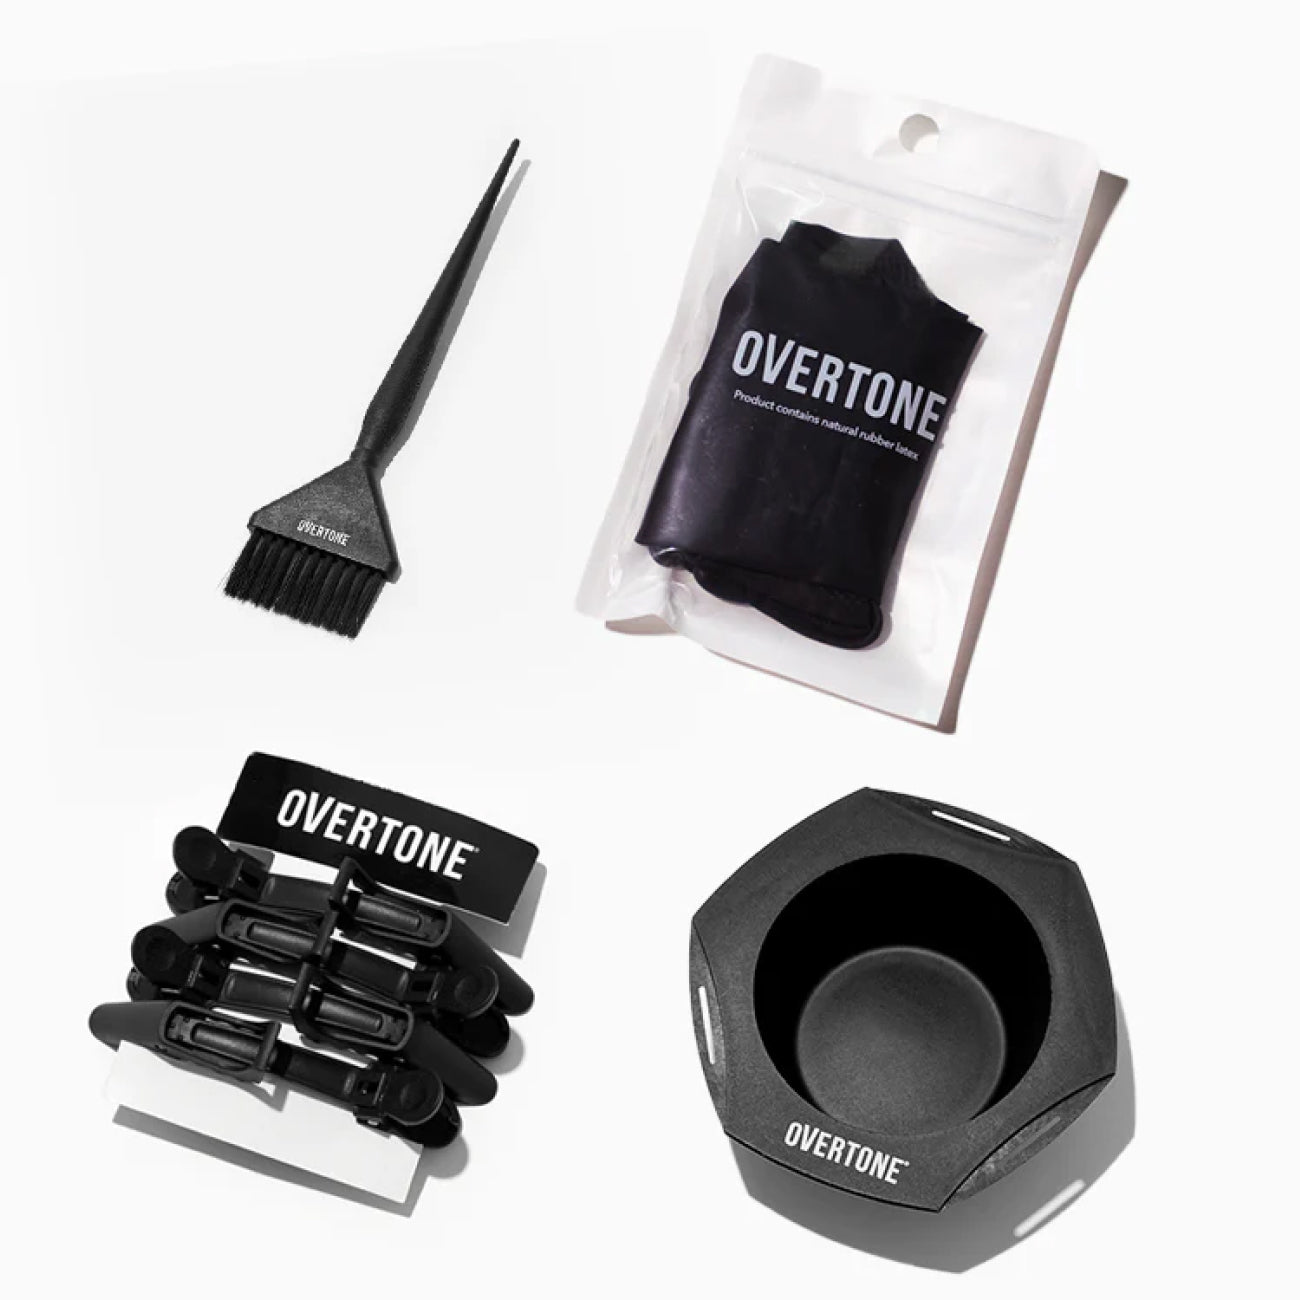
Reusable gloves
Extensions
Four mini elastic bands
Cute clips or barrettes
STEP 01:
Wet extensions and lay them over the edge of the sink. Using a mixing brush, scoop a healthy dose of pre-made pink color conditioner mix into the palm of your hand. Apply the mixture to the extensions, starting at the ends and ensuring that the extensions are well saturated for the most vibrant color results.
STEP 02:
After prep and the extensions are dried, styled, and ready to go, apply and blend them with your natural hair and prepare to style.
STEP 03:
Take two-inch sections of hair and use a wand to curl your hair away from the face, holding it for about 10-15 seconds before gently releasing. Since the ends of your hair are the most delicate, start curling in the top or middle of the hair to protect the ends and encourage a stronger hold. Repeat on the bottom layer of hair until you achieve that “loose curl” look.
STEP 04:
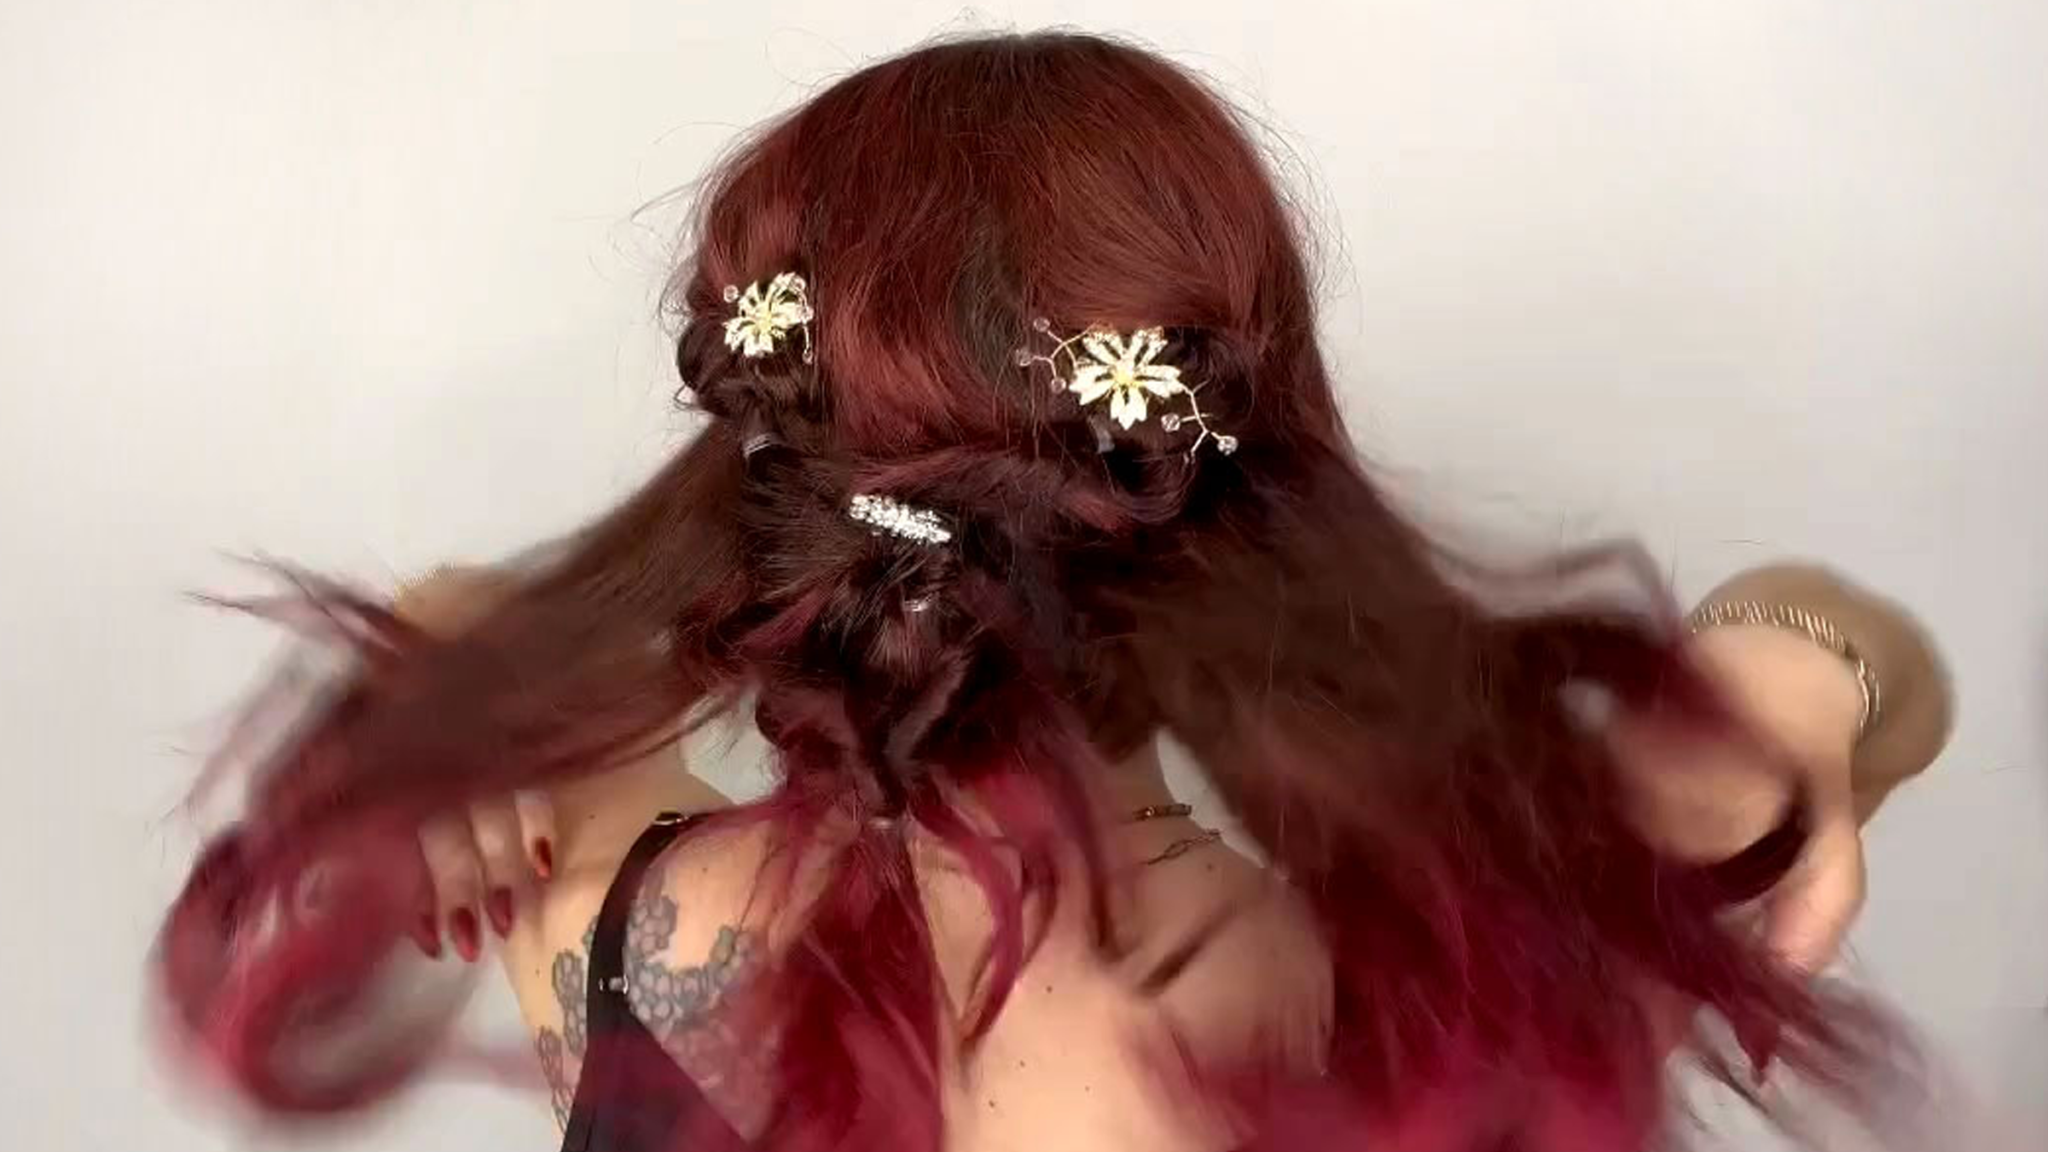
Once completed, we’re going for a beautiful half up, half down look. To begin, frame your face with two-inch pieces of hair. Using mini elastic bands, section the top layer of your hair, starting with one, two-inch ponytail on the side of your crown.
STEP 05:
Using your finger, create a small hole at the base of the ponytail just above the elastic. Gather the ponytail and pull it under the elastic and up through the hole, going from the inside back out, creating a loop ponytail. Pull the sides of the base of the ponytail until you achieve a loose ponytail look—repeat loop ponytail steps on the opposite side and again in the back. You should have three-loop ponytails altogether.
STEP 06:
Gather the two outside loop ponytails and pull them under the elastic and up through the hole of the middle loop ponytail in the back, going from the inside back out, creating one big loop ponytail. Pull the end of the pony to the sides to tighten the loop.
STEP 07:
Take another elastic and secure it about two inches below the middle elastic, and repeat the previous step creating a hole with your fingers within the section. Take the long part of the ponytail and push it up over the elastic and down through the hole.
STEP 08:
Clip in decorative barrettes or clips at the top of each loop ponytail, and voila! The perfect, half up, half down wedding-ready look that photographs well and is styled beautifully.