


DIY Hair Tutorial: Dual Tone Money Piece
It’s happening again. Beauty trends from decades past are creeping back into our IG feeds with a vengeance — including some of those you thought we’d swear off for good.
*cough* chunky highlights *cough*
But staying true to the recent Y2K renaissance, money piece highlights are back, and they have celebrities, influencers, and Gen Z-ers gagging.
Money piece hair is a new hip version of chunky highlights; a controversial coloring technique made popular in the late '90s and early 2000s. In addition to unearthing our childhood nostalgia, there’s so much to love about this hair color trend. It’s gorgeous, versatile, and compliments all hair textures, types, and lengths. Plus, if Beyonce's on board, it has to be legit.
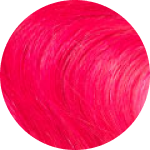
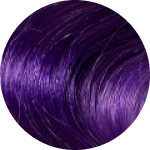
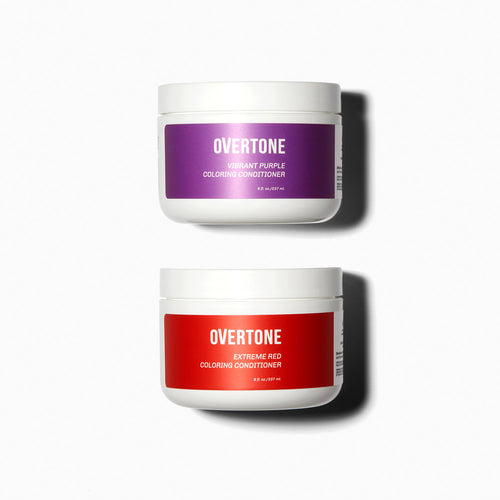
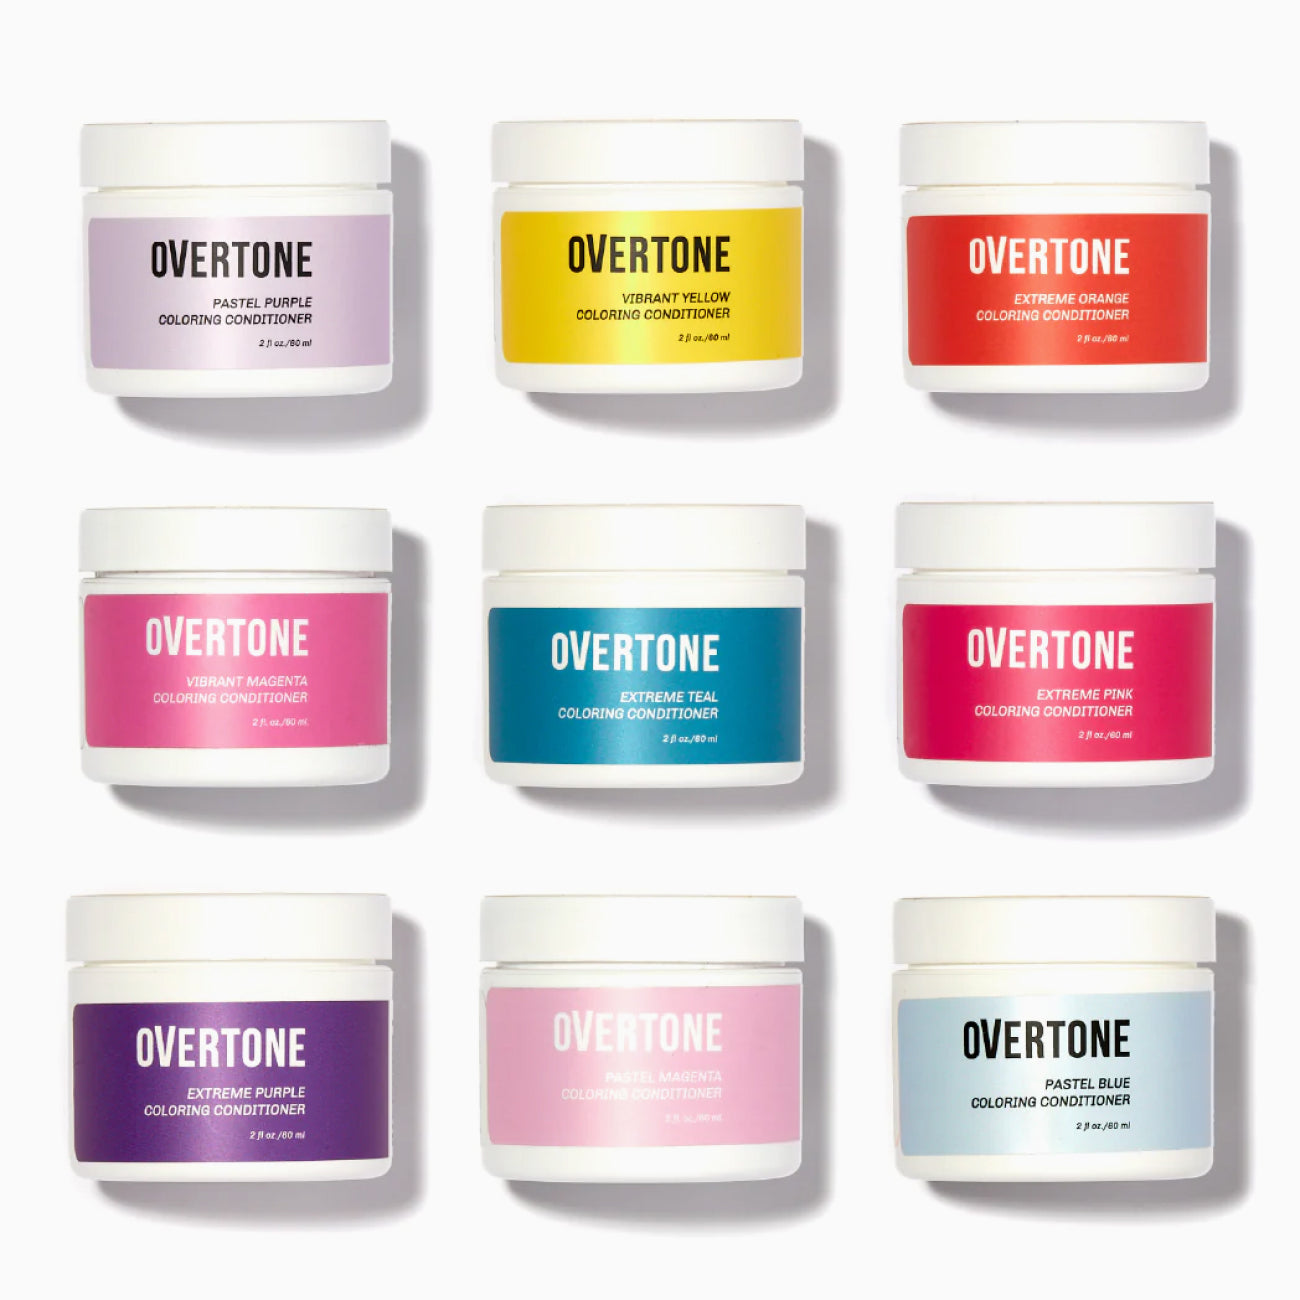
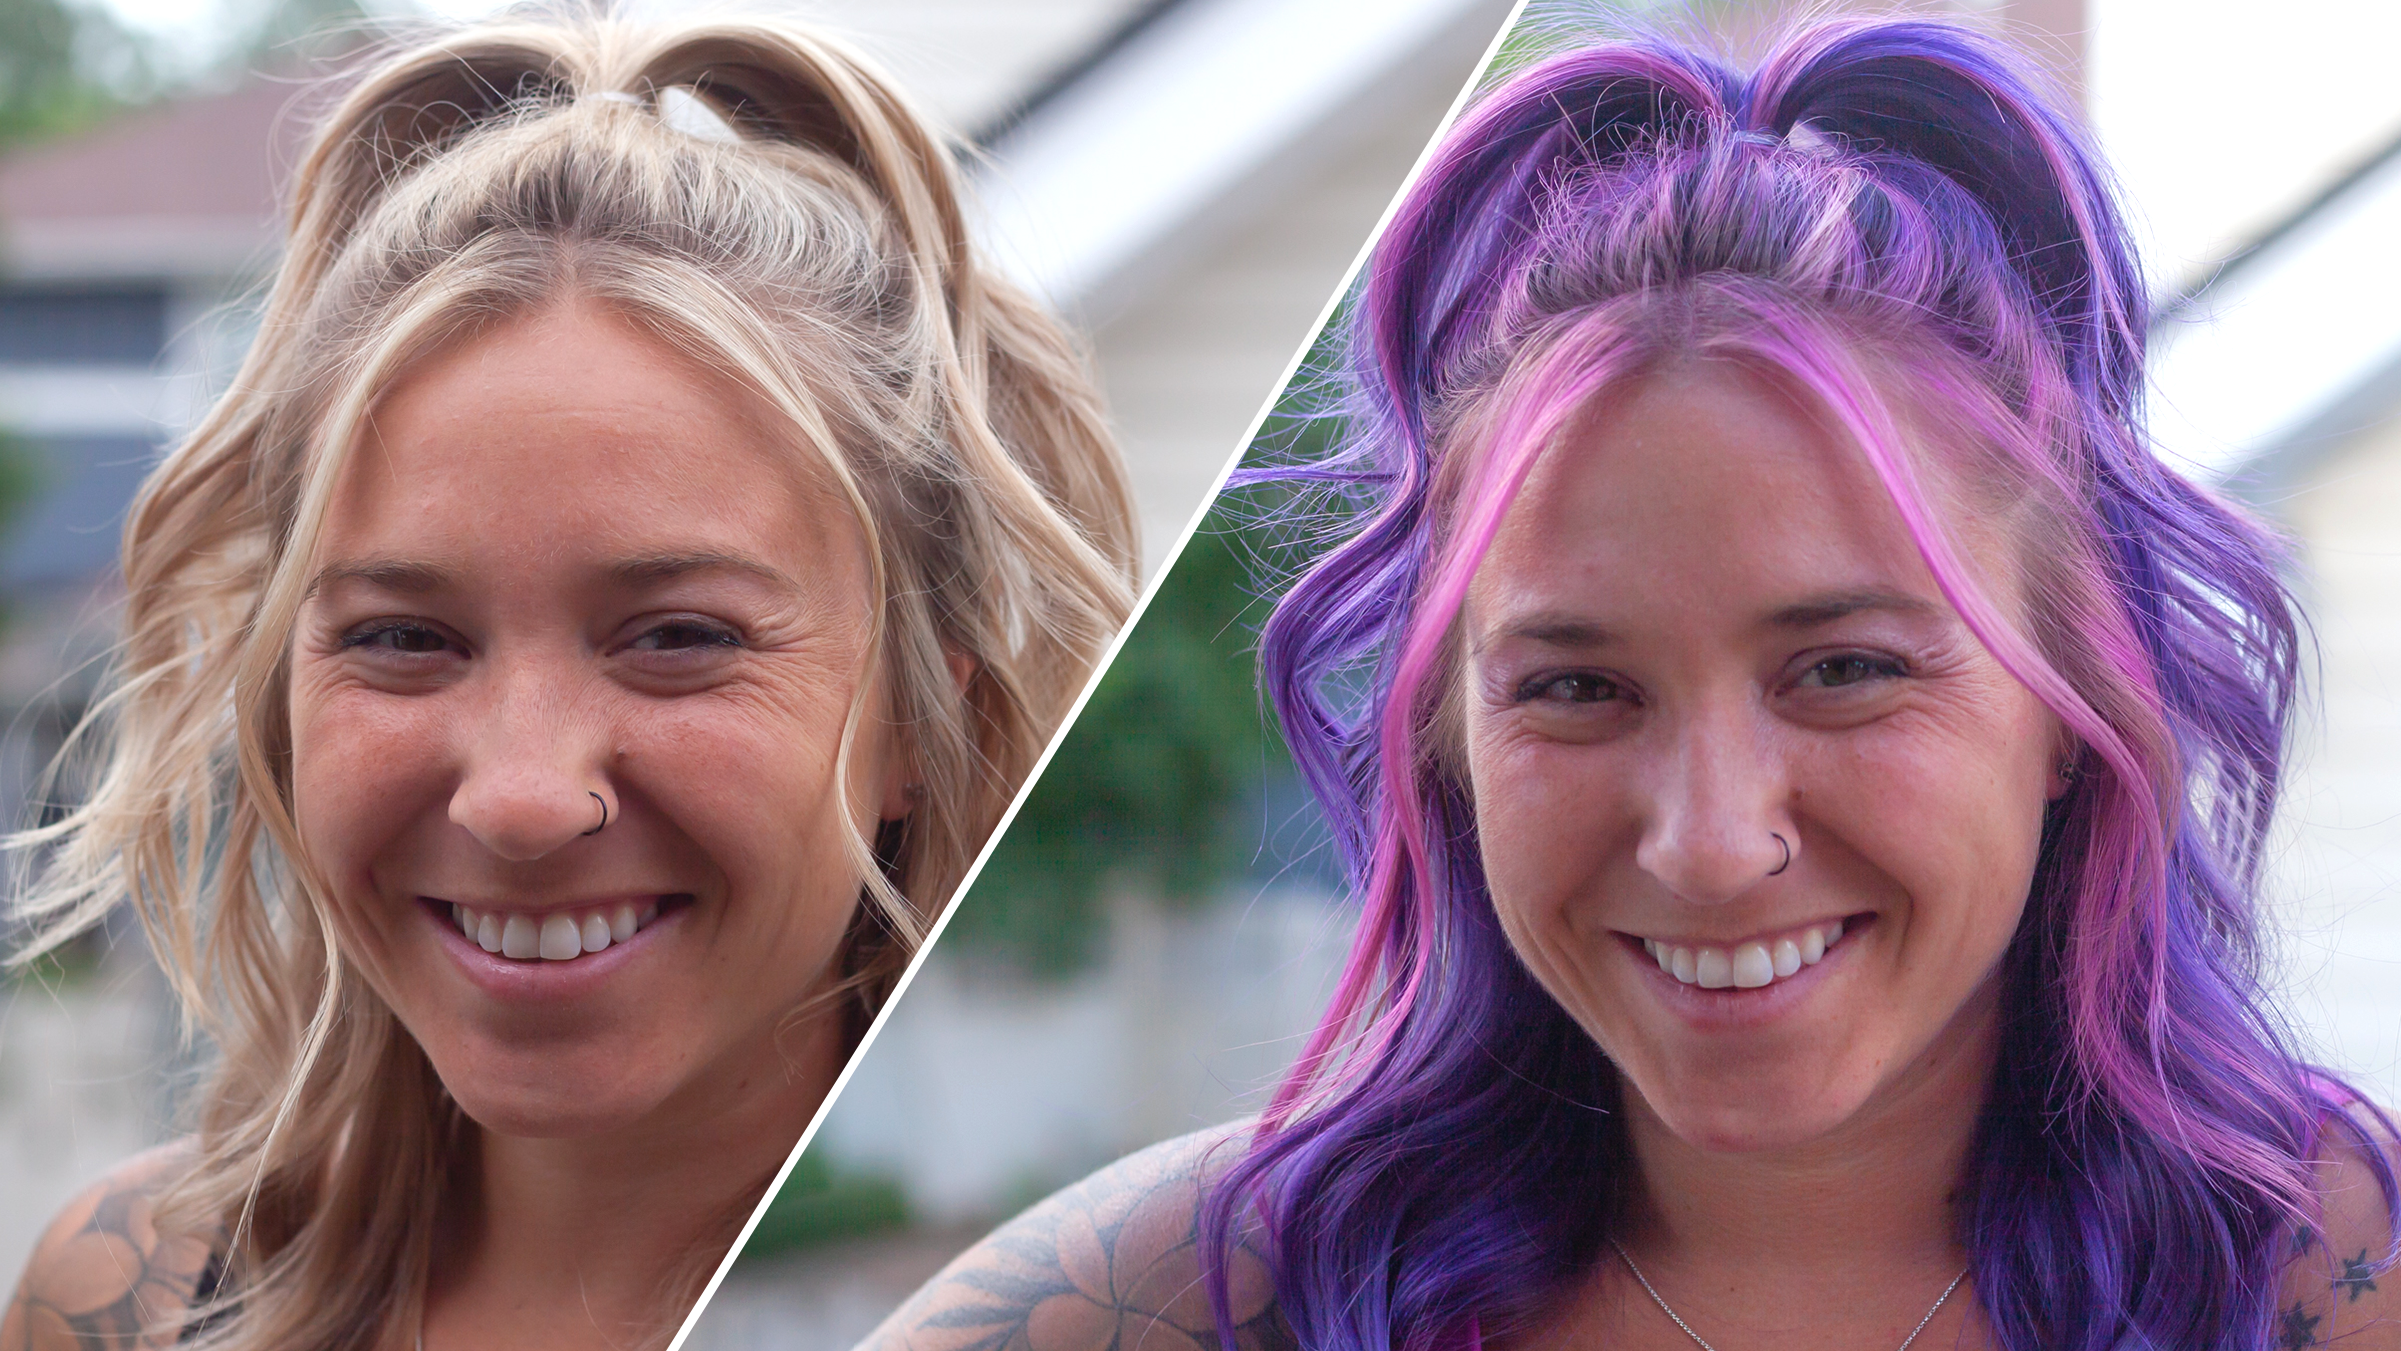
In short, the color is applied along the hairline, which adds dimension and creates a simple face-framing effect. From a contrast finish to a subtle sun-kissed glow, the highlight works to emphasize your appearance as the lightest or boldest piece of hair. You can even experiment with different colors using vibrant, bright hues that demand attention, like TikTok influencer and Colorado-based content creator @delanielynne. Using our Vibrant Magenta and Extreme Purple Coloring Conditioners, @delanielynne achieved a bright, head-turning look with two different shades. Watch her DIY Dual Tone Money Piece hair tutorial below and see how easy it is to get this high-end look from home without booking an appointment or breaking the bank.
WHAT DO I NEED:
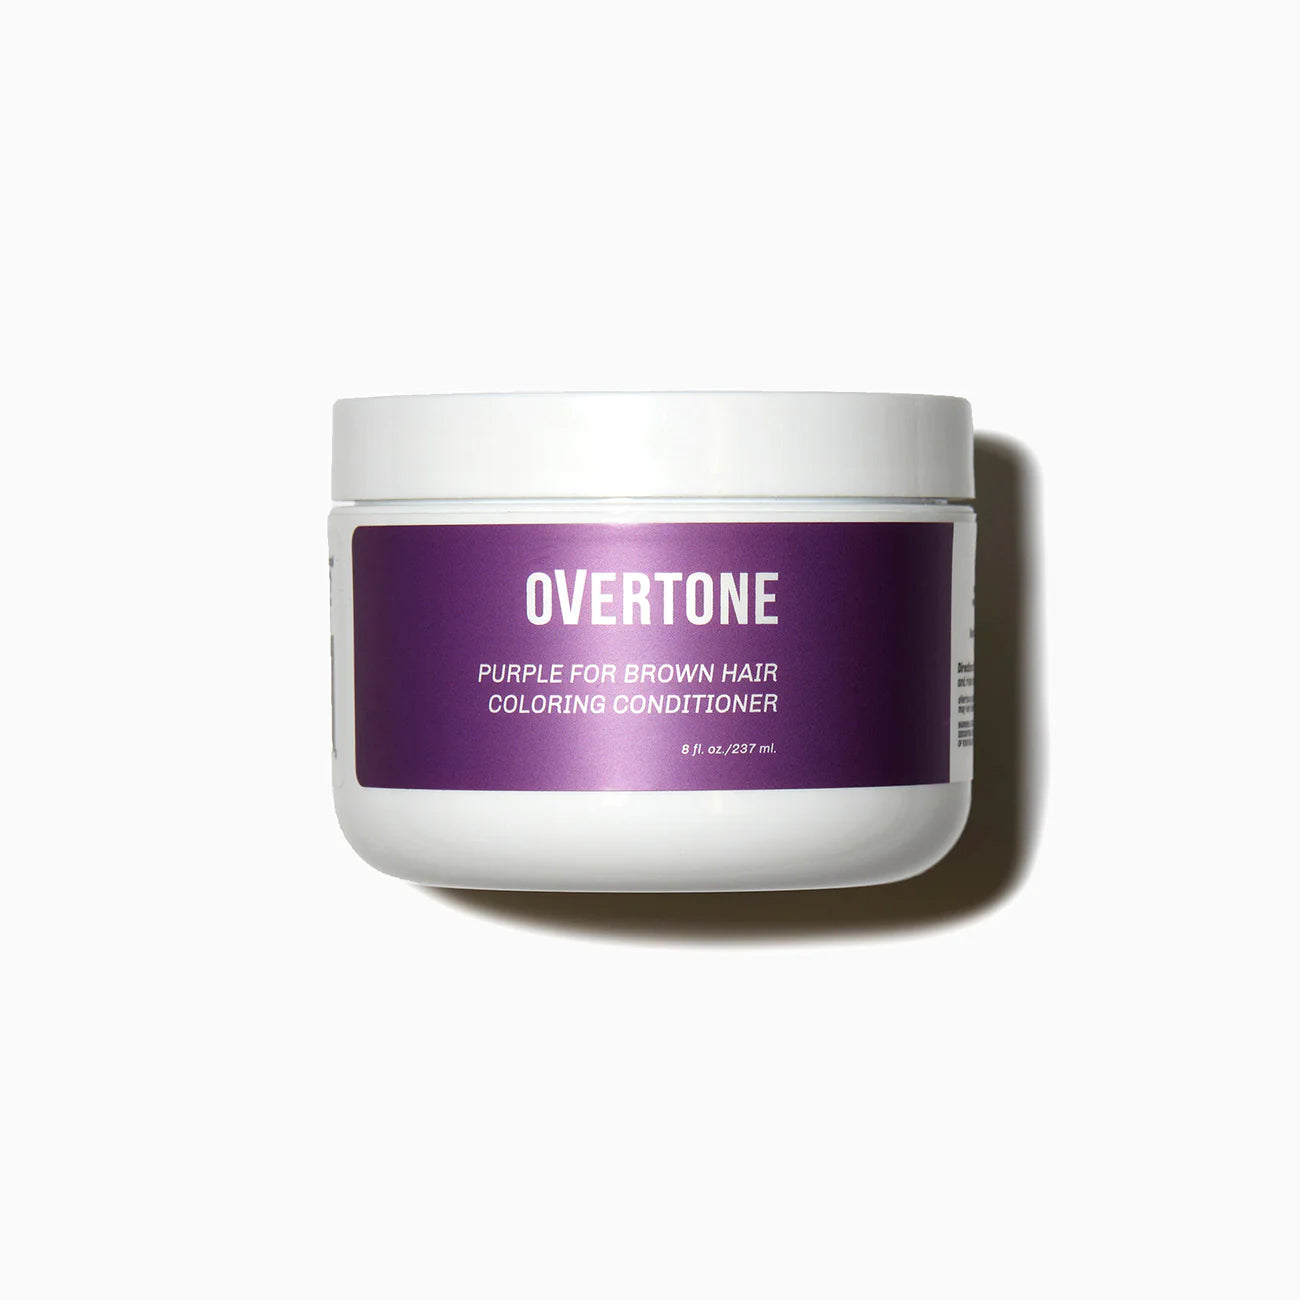
- Two of oVertones Coloring Conditioners
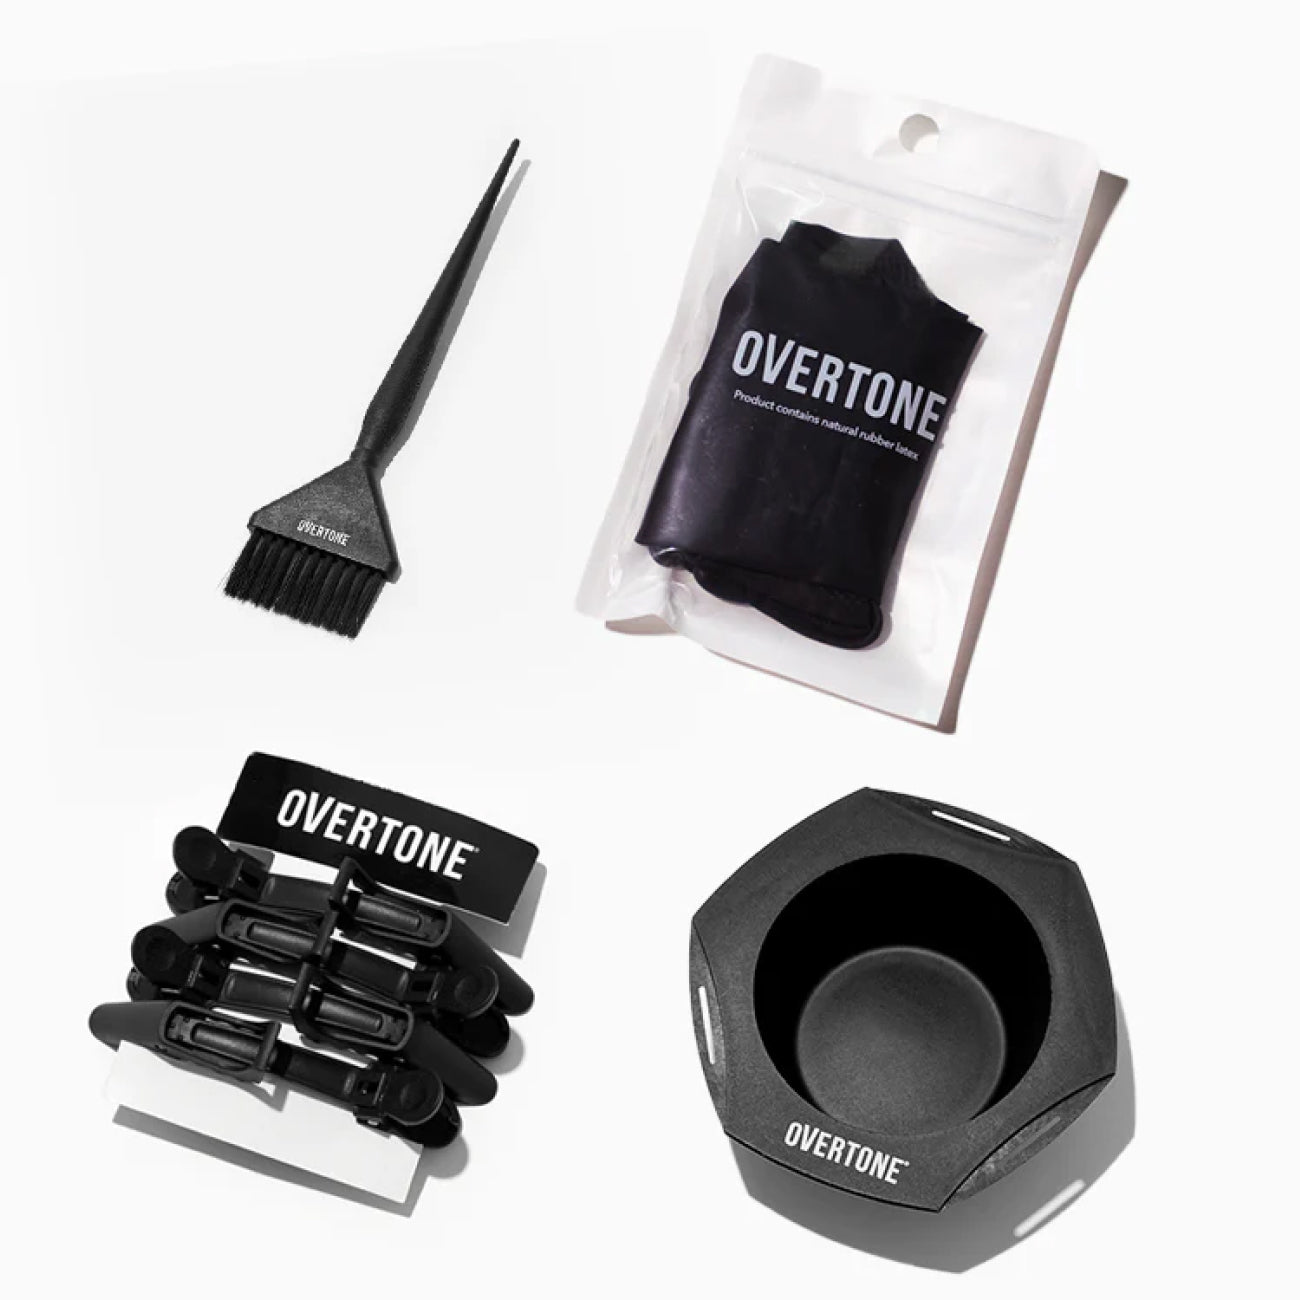
- Reusable gloves
- Fine toothed comb
- Hair ties
- Clean, dry hair for color application
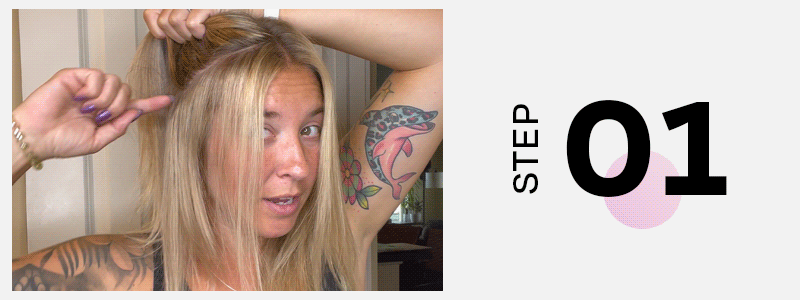
SECTIONING YOUR HAIR:
STEP 01: Choose your part. There are various ways to part your hair for a Money Piece, but @delanielynne chose to part her hair straight down the middle to achieve an even look.
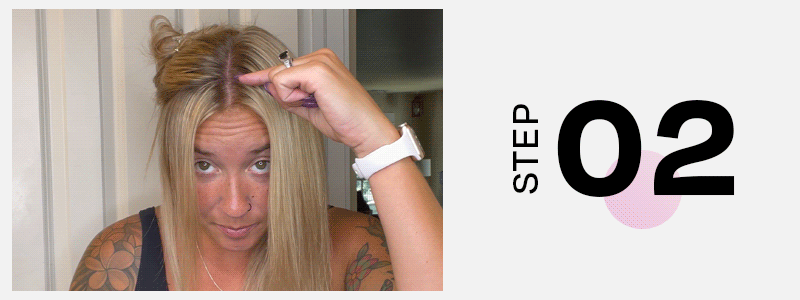
STEP 02: Decide how thick you want the front pieces to be. Use a fine-toothed comb and place it on the middle part (about 1-2 inches from the hairline), pulling the comb straight back, separating the bottom layer and top layer of hair, and stopping just above the ear.
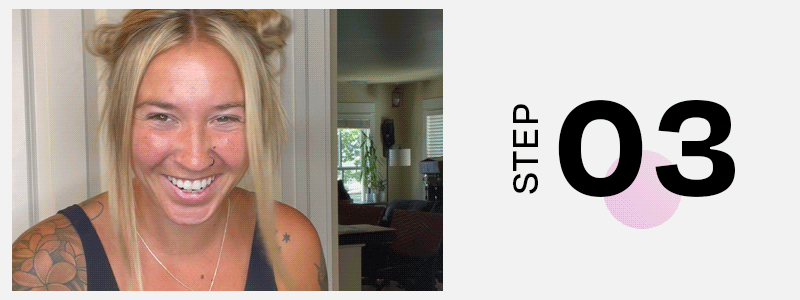
STEP 03: Take the top layer and back section of hair and place them in a ponytail. Repeat on the other side.
SHOW ME THE MONEY:
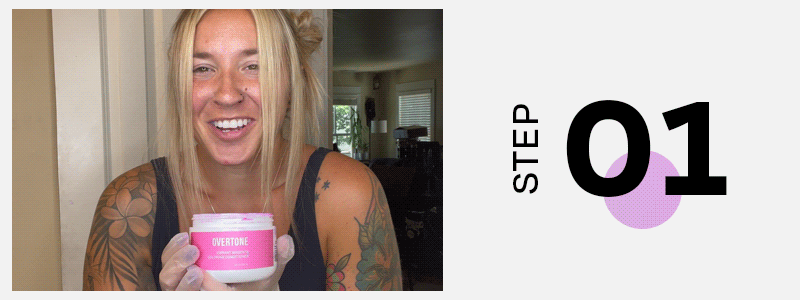
STEP 01: Use reusable gloves to keep the pigment off your hands and in your strands.
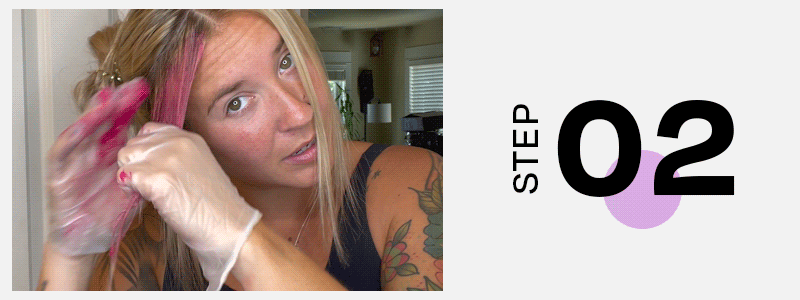
STEP 02: Starting with the front pieces of hair, scoop product into your hands and apply starting at the roots and working your way to the ends. Be sure not to touch the tied-up sections of hair. Mixing colors could render blended color results.
STEP 03: Once finished with one color application, change gloves to apply the next.
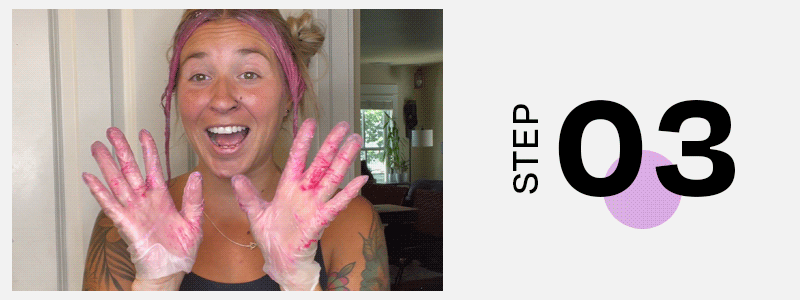
STEP 04: Section off previously tied up hair into four separate sections. Take a moment to enjoy serving up alien vibe realness, and then apply color using your hands, starting from the roots and working your way to the ends.
“Don’t be afraid to just goop it on, saturate it in.” — @delanielynne
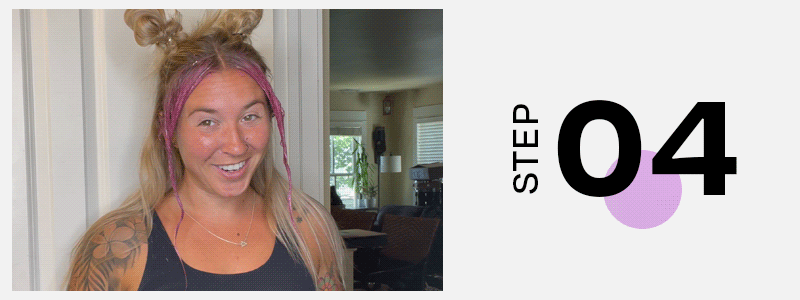
STEP 05: Once completed, change gloves and go back over the front piece just one more time for the best, brightest results.
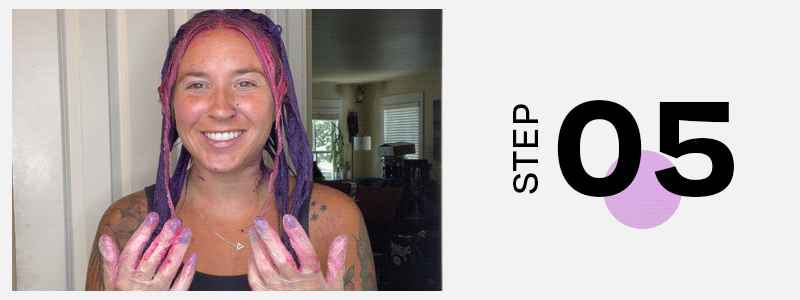
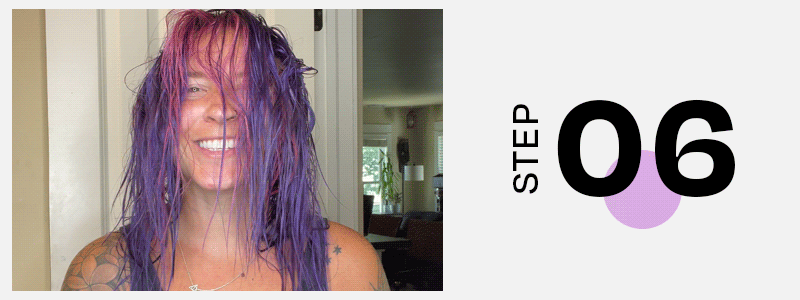
STEP 06: Wait 10-15 minutes to let the color set and then rinse.
HOT RINSE TIP: When washing out multiple hair colors, especially contrasting colors, try washing out the front part first (head down). Next, wash the back as you usually would in the shower. Following this step will ensure that the colors won't bleed and keep a clean colorblock.
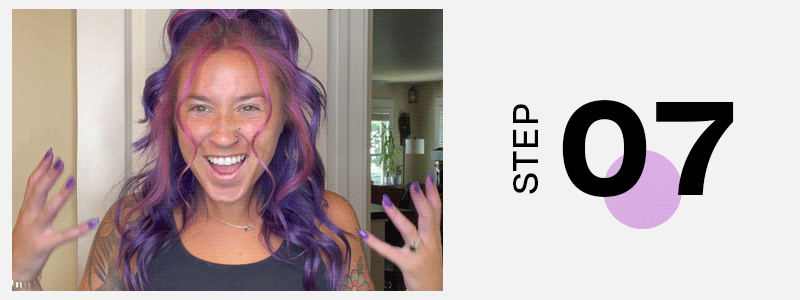
STEP 07: Style it and serve dual tone realness.
What we LOVE about @delanielynnes dual tone Money Piece comes down to the Coloring Conditioners she chose. Pink and purple are playful, fun, flattering hues that look great on everyone. Various shades to choose from make a bold statement, giving Barbie chic and leaving our jaws in the Earth’s core.
So if you’re looking for an affordable and fun way to add color to your hair with minimal effort but maximum style, head to our site and choose two Coloring Conditioners and then show us the money, i.e., Tag us. We want to see how you rock this high-end look.